How to deliver a reader magnet with SendFox
· 5 min read
SendFox is a simple, low-cost email service that many authors like for its one-off Lifetime plan. This guide connects it to Storyfinch so every reader who picks up your free book is added to a SendFox list, ready for your welcome email.
Check two things first: SendFox only allows connections from paid plans, and it sends new contacts its own confirmation email unless you switch that off. Both are covered below.
What you need
- A paid SendFox plan: the one-off Lifetime plan or a Pro plan. SendFox's free plan does not include API access, so it cannot connect to any other service.
- Your reader magnet as an EPUB, a PDF, or both, plus a cover image.
- Storyfinch Pro for the automatic connection. On the free plan you can download your new readers as a spreadsheet and import them into SendFox yourself.
Step 1: Create a list
In SendFox, go to Audience → Lists, click Create list, name it for this book, and save. Storyfinch adds each reader's email address and, if they gave it, their first name.
Step 2: Create an API token
- Open the menu at the top right and choose Settings, then Connections → API tokens.
- Next to Personal Access Tokens, click Create New Token.
- Name it (for example "Storyfinch") and create it.
- Copy the token. SendFox only shows it once; if you lose it, create a new one.
If you see an upgrade prompt instead of the token options, your account is on the free plan.
Step 3: Connect SendFox in Storyfinch
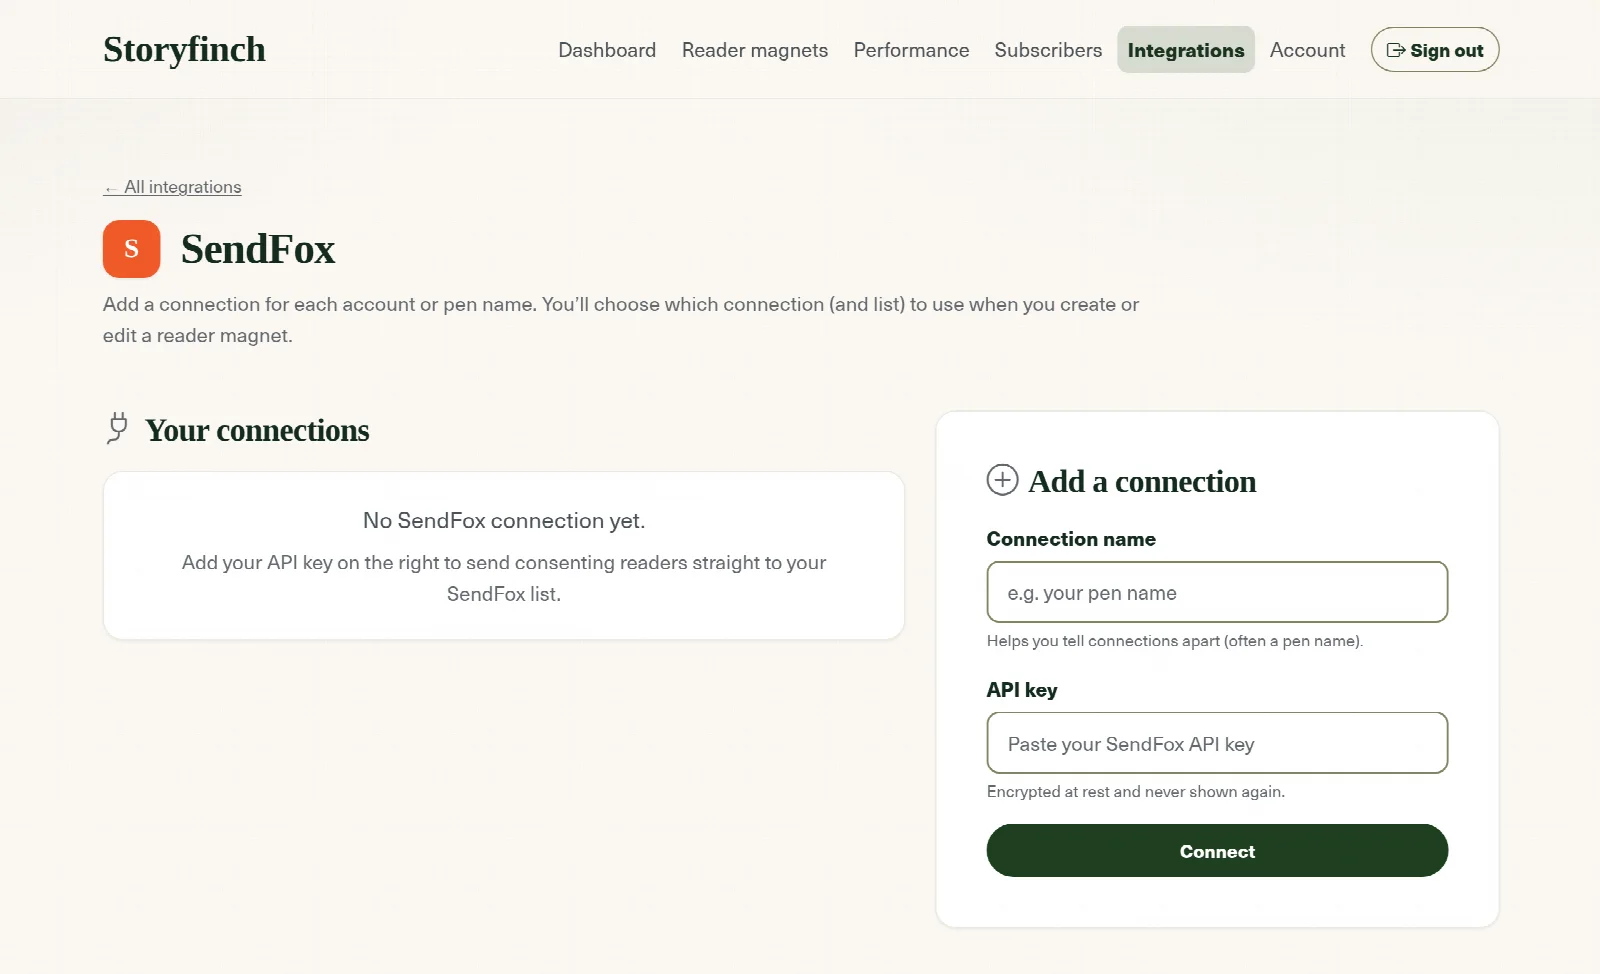
In Storyfinch, open Integrations, choose SendFox, and add a connection. Name it (your pen name works well) and paste the token into the API key field. Storyfinch checks it straight away and stores it encrypted.
Step 4: Choose the list for your reader magnet
In your reader magnet's settings, under the mailing list options, pick your SendFox connection and the list from step 1. Every reader who signs up and agrees to join your list is then added to it. Readers who do not tick the box to join are not sent to SendFox.
Step 5: Decide who sends the confirmation email
SendFox's double opt-in is on by default, and it applies to contacts added through connections like Storyfinch, not just SendFox's own forms. With it on, each new reader gets a SendFox email asking them to confirm, and until they click it SendFox will not send them campaigns or start your welcome automation. They still get their book from Storyfinch either way.
Make sure readers are only asked to confirm once:
- To let Storyfinch handle it, switch SendFox's off under Settings → Sending → List defaults by unticking Require double opt-in. Pro plans can do this at any time; on the Lifetime plan, SendFox first asks you to validate a sending domain. Storyfinch keeps a record of what each reader agreed to, and you can turn on confirmation in Storyfinch if you want it.
- To keep SendFox's, leave it on and keep confirmation switched off in Storyfinch, so readers get one confirmation email rather than two.
Not sure which you want? See single vs double opt-in.
Step 6: Start a welcome automation
Storyfinch delivers the book, so SendFox handles the follow-up. Go to Automations → Create automation (there is a Welcome email series template), click Add a starting trigger, choose joining a list, and select your reader magnet list.
Then test it: sign up on your own Storyfinch page with an address you can check, confirm if SendFox asks you to, and check the welcome email arrives. Our welcome email sequence guide has an outline to adapt.
SendFox's plans
As of October 2026, SendFox's Lifetime plan is a one-off $29 for up to 5,000 contacts and 300,000 sends in total, with unlimited automations and API access. Pro plans start at $19 a month ($190 a year) for 5,000 contacts, remove SendFox's branding, and let you switch off double opt-in without validating a domain. The free plan (1,000 contacts and 3,000 sends a month) does not include API access. Check SendFox's pricing page for current figures.
If you would rather start free, MailerLite, Brevo and EmailOctopus all have free plans that connect to Storyfinch.
Frequently asked questions
Where do I find my SendFox API token?
Settings → Connections → API tokens → Create New Token, next to Personal Access Tokens. The token is only shown once, so copy it straight away.
Can I connect SendFox on the free plan?
No. SendFox's free plan does not include API access, so it cannot connect to Storyfinch or other services. The one-off Lifetime plan or a Pro plan both work. On SendFox's free plan you can still import a spreadsheet of readers from Storyfinch.
Why are readers getting a SendFox confirmation email?
SendFox's double opt-in is on, and it covers contacts added through connections. Either switch it off under Settings → Sending → List defaults, or keep it and leave confirmation off in Storyfinch so readers only confirm once.
Why didn't my welcome automation start?
Most often, the reader has not yet clicked SendFox's confirmation email: SendFox does not add unconfirmed contacts to automations. Also check the automation's trigger is joining the same list you chose in Storyfinch.
Grow your list with your next book
Give readers a free book and turn them into subscribers, with secure delivery and consent built in.
Create your free accountFree plan · No card required · Set up in minutes